If you’ve opened your freezer, expecting a tray full of fresh ice, only to be met with disappointment, you’re certainly not alone. Ice makers are notorious for acting up at the most inconvenient moments. The good news is, many common problems can be diagnosed and even fixed at home without calling in a technician right away. Here’s a detailed, no-nonsense guide to getting your ice maker back on track.
Table of Contents
- Common Signs Your Ice Maker Isn’t Working
- Quick Preliminary Checks
- Step-by-Step Troubleshooting
- When to Call a Professional
- Preventive Tips for Future Problems
- Frequently Asked Questions
1. Common Signs Your Ice Maker Isn’t Working
It’s not always obvious at first glance that your ice maker is the culprit. Look out for these tell-tale symptoms:
- No ice production at all
- Only small, misshapen cubes
- Ice tastes or smells odd
- The ice bin is frozen solid or full of clumped cubes
- Loud or unusual noises from the freezer
2. Quick Preliminary Checks
Before you roll up your sleeves, a few quick checks can save you time (and maybe a headache):
2.1. Is the Ice Maker Switched On?
You’d be surprised how often the solution is as simple as flipping a switch or pressing a button.
2.2. Check the Water Supply
No water means no ice. Ensure the refrigerator is properly connected to the water supply and that the valve is open.
2.3. Freezer Temperature
The freezer should be set between 0°F and 5°F (-18°C to -15°C). If it’s too warm, ice production will slow or stop altogether.
3. Step-by-Step Troubleshooting
If your basic checks didn’t do the trick, let’s dig a little deeper.
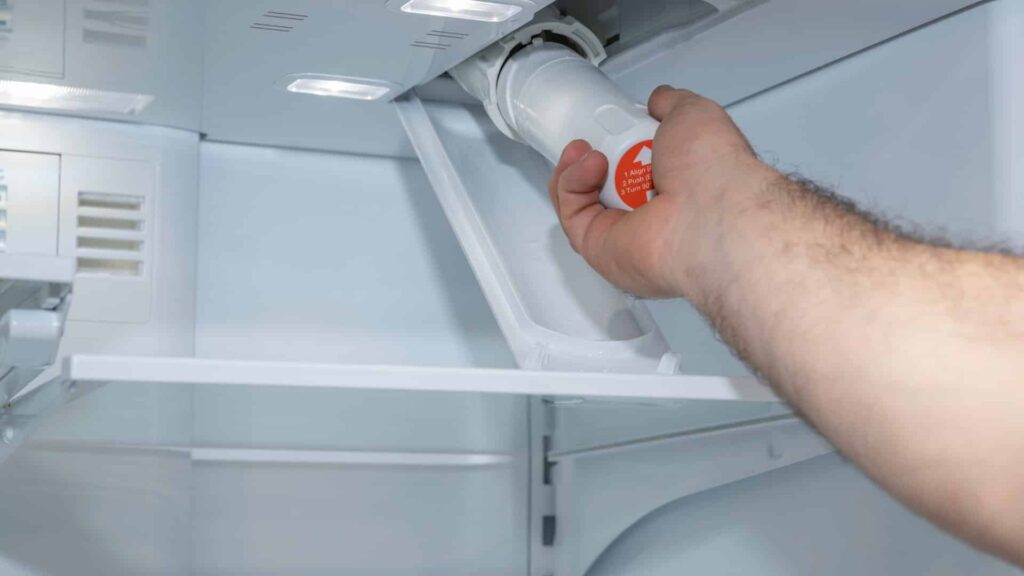
Step 1: Inspect the Water Filter

A clogged or old water filter can block water flow. Most manufacturers recommend replacing the filter every six months. If you can’t recall the last time you changed it, that might be your issue.
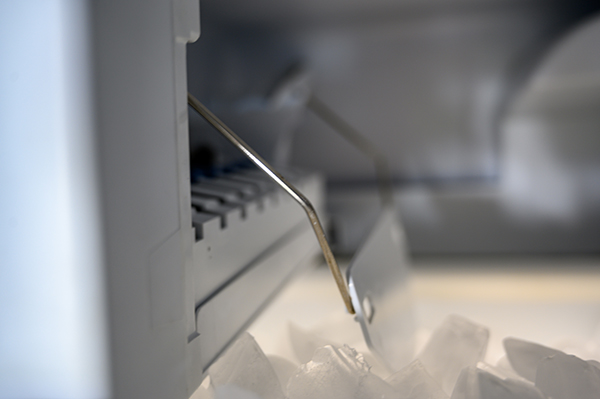
Step 2: Examine the Ice Maker Arm or Sensor

Many ice makers have a wire arm or sensor that tells them when the bin is full. If it’s stuck in the “off” position or blocked by ice, the machine won’t cycle.
Step 3: Look for Ice Jams

Occasionally, stray cubes or frost can jam the mechanism. Carefully clear out any visible obstructions. Sometimes, a gentle nudge is all it takes.
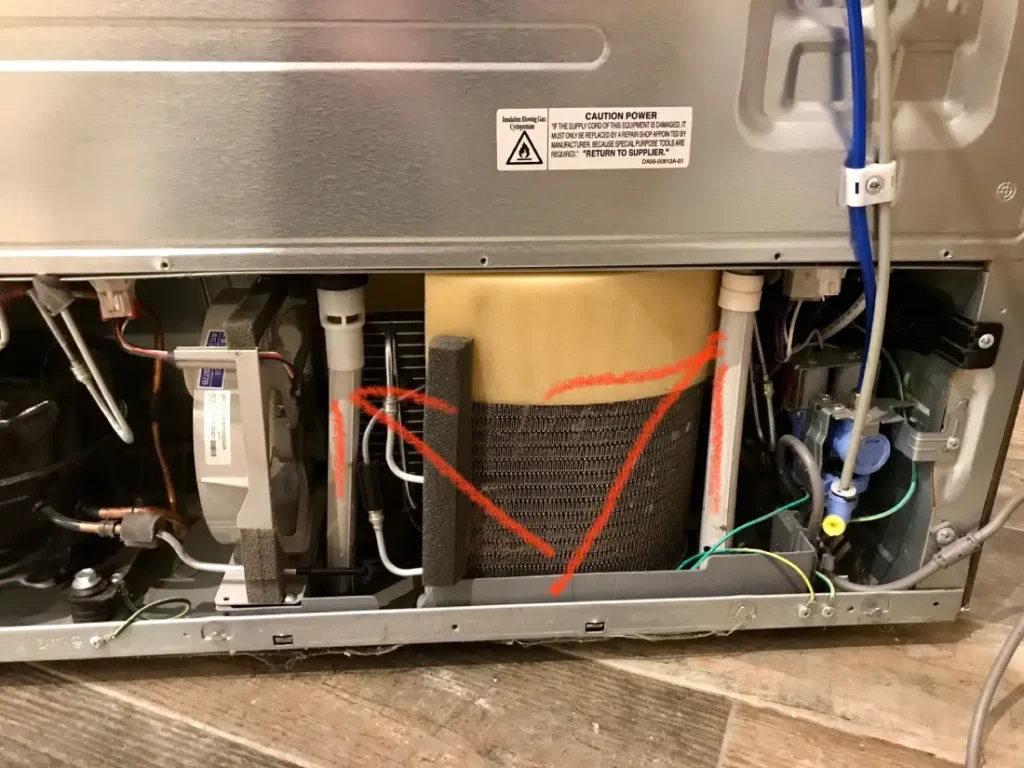
Step 4: Test the Water Inlet Valve

This valve opens to let water into the ice maker. If it’s faulty or clogged, no water will flow. Listen for a humming noise when the ice maker is cycling. No sound? The valve might need replacing—a fairly common fix.
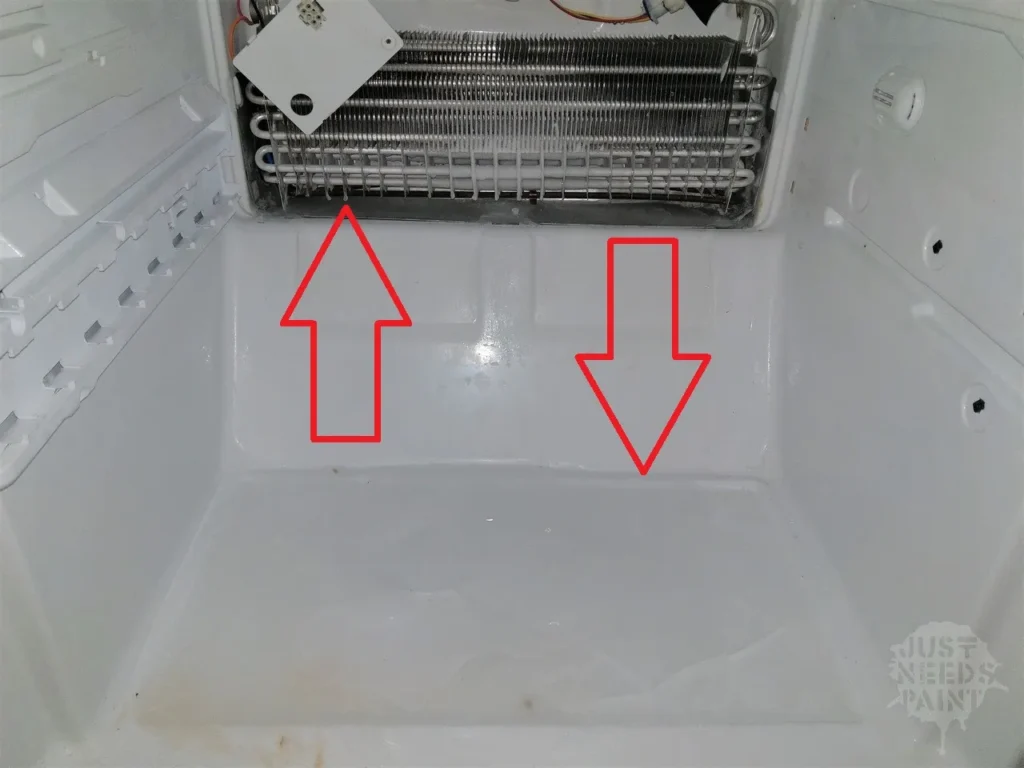
Step 5: Check for Frozen Water Lines
In some cases, the water line itself can freeze—especially if the freezer temperature is too low or there’s poor airflow. Try unplugging the fridge for a few hours to let any frozen sections thaw.
Step 6: Inspect the Control Module or Circuitry
If all else fails, the issue could lie in the ice maker’s internal controls. Resetting the unit or replacing the control board may be necessary, but this is generally more advanced and may require professional assistance.
4. When to Call a Professional
Sometimes, even the most diligent DIYer needs backup. Call a technician if:
- You suspect an electrical problem
- There’s a water leak behind the fridge
- Your ice maker still won’t cooperate after trying these steps
After all, there’s no shame in seeking expert help, especially if you’re worried about voiding your warranty or causing further damage.
5. Preventive Tips for Future Problems
A little care goes a long way:
- Replace water filters regularly
- Clean the ice bin and mechanism every few months
- Keep freezer temperature stable
- Don’t overfill the freezer; proper airflow matters
These simple habits can save you from many ice-related headaches down the line.
